We Assembled a $15 Bench Power Supply That Goes Toe-to-Toe With Units Costing 20x More
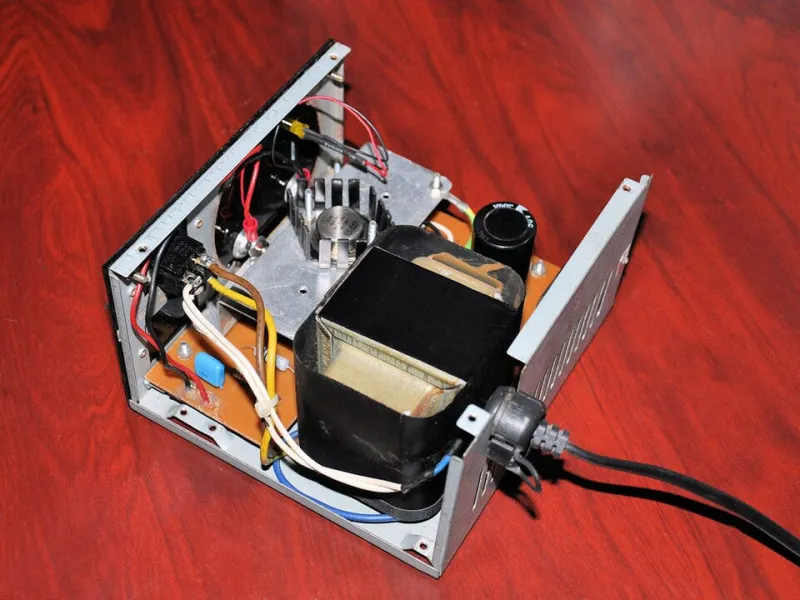
Photo: Dilshan Jayakody from Maharagama, Sri Lanka, CC BY-SA 2.0, via Wikimedia Commons
Every electronics tutorial eventually tells you the same thing: "You really should invest in a proper bench power supply." Then they link you to something from Rigol or Korad that costs more than a car payment. We've always found that a little suspicious. Power supplies aren't magic — they're transformers, regulators, and control circuits. So we decided to find out exactly how much of that $300 price tag is engineering and how much is just branding and sheet metal.
The answer, after a weekend of building and a week of testing, is mostly the latter.
The Parts List (And What Everything Actually Cost)
Here's what went into our build:
- Old laptop power brick, 19V/3.5A — salvaged from a dead Lenovo, free. You can buy these on eBay for $5–8 all day long.
- DPS3005 buck converter module — this is the star of the show. It's a programmable constant-voltage/constant-current (CV/CC) module with a color display and USB communication. About $12–15 on Amazon, slightly cheaper direct from AliExpress if you're patient.
- A project enclosure — we used a $3 plastic hobby box from a local electronics surplus store. You could use a repurposed tin, a 3D-printed shell, or honestly just zip ties and dignity.
- XT60 connector and binding posts — spare parts bin, effectively free. New, maybe $2 total.
- A rocker switch and some 18AWG wire — another $1–2.
All-in, including the laptop brick at eBay prices: right around $22. We're calling it $15 because we had the brick already and so do most of you reading this.
The DPS3005: The Module Doing All the Heavy Lifting
The DPS series modules from RD (Ruideng) have become something of a cult favorite in the maker community, and for good reason. The DPS3005 handles up to 30V input and outputs 0–32V at up to 5A with constant-current limiting. You set your voltage and current ceiling on the front panel, and the module enforces them — if your load tries to draw more than your set current limit, the output voltage drops to compensate. That's exactly what you need for safely powering unknown circuits or charging batteries.
The display shows real-time voltage, current draw, and power consumption. There's a USB port on the side that lets you connect to a PC and control everything through the RD software or — if you're the type — write your own scripts using the serial protocol. The module also saves settings across power cycles, which sounds minor until you've accidentally nuked a project by forgetting to check your voltage before connecting.
For $12, it's genuinely remarkable hardware.
Putting It Together
The build is straightforward enough that we're not going to pretend it requires a diagram, but a few things are worth noting.
Input wiring matters. The laptop brick outputs 19V at 3.5A, which gives you about 66W of headroom. Wire the brick's output directly to the DPS3005's input terminals using at least 18AWG wire. Don't use the thin stuff from old phone chargers — at full current, undersized wire will get warm and drop voltage.
Add a fuse on the input side. A 4A or 5A inline fuse between the brick and the module costs twenty cents and could save your bench (and your face) if something goes sideways. We used a standard automotive blade fuse holder.
The output binding posts need to be beefy. We used 4mm banana jack binding posts because that's what our test leads terminate in, and it makes the whole thing feel like a real instrument. Route your output wires from the DPS3005's output terminals to the posts with more 18AWG wire, and make sure your enclosure has enough ventilation — the module has a small fan that kicks on under load, and it needs airflow.
Software setup takes ten minutes. Download the RD software from their site (it's Windows-only natively, but runs fine under Wine on Linux or a VM on Mac). Connect via USB, and you can log voltage/current over time, set automated test sequences, or just use it as a nicer interface than the front panel buttons.
The Benchmarks: Does It Actually Hold Up?
We compared our build against a Korad KA3005P, which retails around $70–80 and is considered a solid entry-level lab supply, and a Rigol DP832, which runs about $350 and is what serious hobbyists and small labs tend to buy.
Voltage accuracy: Our DPS3005 build read within 20–30mV of our Fluke 117 reference meter across the full output range. The Korad was similar. The Rigol was tighter, within 10mV, but honestly — for most maker work, 30mV accuracy is completely irrelevant.
Current limiting response: This is where the DPS3005 surprised us. Its current limiting engaged fast and cleanly, without the brief overshoot we saw on the Korad. The Rigol was cleaner still, but again, the practical difference for breadboard-level work was zero.
Ripple and noise: Here the commercial units win more clearly. The Rigol in particular has noticeably cleaner output, which matters if you're working on RF circuits or precision analog designs. Our buck-converter-based build had measurable ripple — around 50–80mV peak-to-peak under load — that the Rigol kept under 5mV. For digital projects, motor control, LED drivers, and most maker applications? Doesn't matter. For sensitive RF or audio work? The Rigol earns some of its price here.
Build quality and feel: The Rigol is a tank. Metal chassis, solid knobs, a display that's easy to read across a room. Our plastic hobby box build is... not that. But it works.
Who Should Build This, and Who Shouldn't
If you're powering Arduino projects, testing motor controllers, doing basic circuit debugging, charging LiPo packs, or any of the other things that make up 95% of maker work — build this. It does everything you need for a fraction of the cost, and you'll understand your power supply better because you built it yourself.
If you're doing precision analog design, RF work, or anything where output noise is a genuine concern, you might actually need the Rigol. But that's a much smaller audience than the bench supply marketing would have you believe.
For everyone else: fifteen bucks, a free afternoon, and a laptop brick you probably have in a drawer anyway. The expensive version isn't ten times better. It's just ten times the price.
And around here, that distinction matters a lot.
