The Hottest Box in Your Workshop: Rethinking the Power Supply Hiding in Your 3D Printer
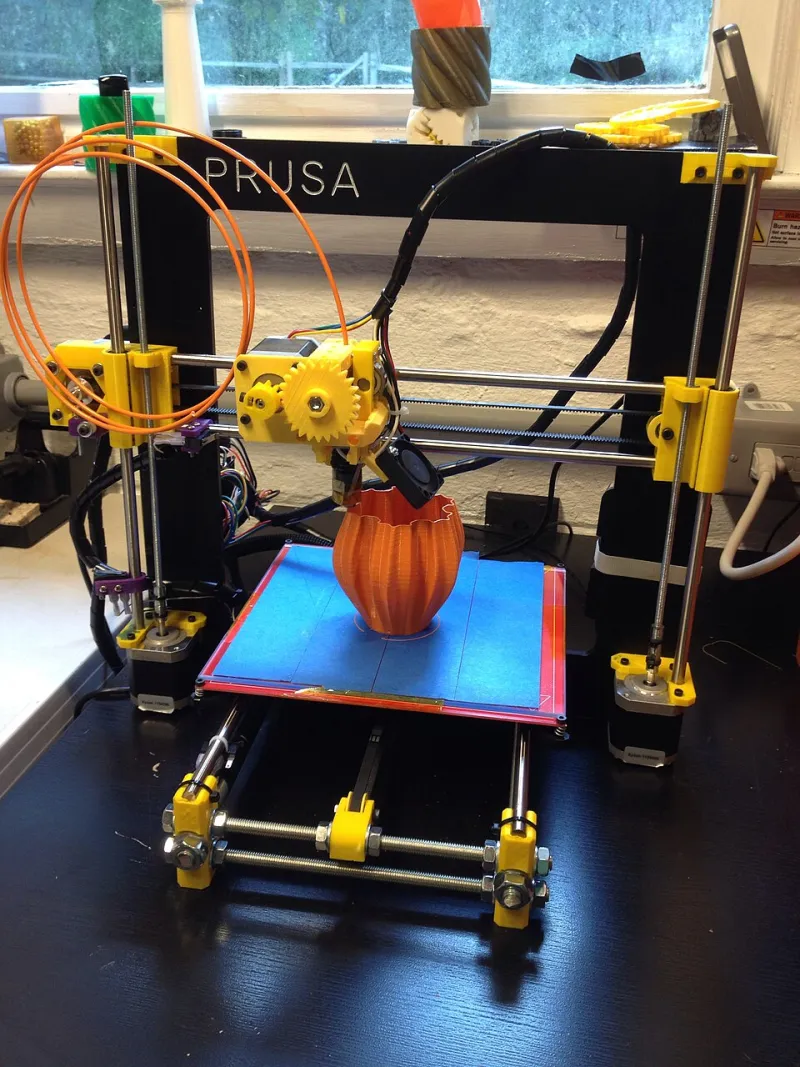
Photo: John Abella, CC BY 2.0, via Wikimedia Commons
Let's start with an uncomfortable observation. The most powerful, hottest-running, least-certified electronic device in your maker space probably isn't your soldering iron. It's the black rectangular box bolted to the frame of your 3D printer — the one that converts 120V wall power into 24V, runs for ten hours at a stretch, and came bundled free with a $199 printer.
Nobody talks about these things. We argue about hotends and bed adhesion all day, but the component with mains voltage on one side and questionable QC on the other just hums along in the corner.
Why the Environment Is Worse Than the Spec Sheet
A no-name PSU tested on a lab bench in a cool room might hold up. But your printer's power supply usually lives inside a closed enclosure — increasingly a full acrylic or foam-insulated chamber for ABS and ASA printing. Ambient temps inside an actively heated chamber can hit 50°C and up. Electrolytic capacitors age at roughly double the rate for every 10°C increase. That bargain PSU rated for 100,000 hours at 25°C is quietly aging at a fraction of that lifespan inside your heated chamber.
Add in the vibration from stepper motors, the dust from PLA grinding, and the fact that nobody ever looks at it, and you've got a component that fails exactly when it's least convenient — or worst case, when it's most dangerous.
Reading the Label Like a Skeptic
UL, CE, and RoHS marks get slapped on these things with zero verification. Here's how to spot a fake:
- Check the UL database. Genuine UL listings are searchable at UL Product iQ using the file number printed under the mark. No file number, or a number that doesn't resolve? Red flag.
- Look at the fonts. Counterfeit marks are often slightly wrong — the UL 'circle' is a little oval, spacing is off. It's subtle, but once you've seen it you can't unsee it.
- CE self-declaration is not a safety test. CE just means the manufacturer declares compliance. On a no-name import, that declaration is worth the paper it isn't printed on.
- Weigh it. Genuinely built supplies use real heatsinks and full-size capacitors. A suspiciously light 350W supply is lying about something.
The Under-$30 Swap Guide
Here's the good news: replacing your printer's PSU is a two-screw, four-wire job that costs less than a roll of premium filament.
- Buy a supply from a brand with a verifiable certification — Mean Well's LRS-350-24 is the community workhorse, and clones of it are still usually better built than the original no-name brick. Around $25–30.
- Unplug everything and photograph the wiring before touching a screwdriver. Mains side, DC side — document it all.
- Match the wiring order. Your printer's DC output wires (usually red/black, 24V) go to V+/V-. The mains input goes to L/N, and ground — actually connect the ground this time. Half the no-name installs skip it.
- Set the output voltage with the onboard trim pot before connecting the printer. Aim for 24.0–24.2V measured at the terminals. Too high and you'll stress your board's regulators.
- Mount it outside the heated chamber if your design allows, with real airflow. Even a genuinely good PSU wants to breathe.
Test the bed heater, hotend, and steppers at low power first, then run a full print. You'll likely notice steadier bed temps too — a supply that doesn't sag under load keeps the heater PID happier.
The Bottom Line
Your printer's power supply is the one part of your workshop that combines mains voltage, sustained load, and zero attention. Twenty-five dollars and twenty minutes fixes all three. That's the cheapest insurance policy in all of making.