Same Circuit, Different Outlet: Why Your Breadboard Build Behaves Badly at the Makerspace
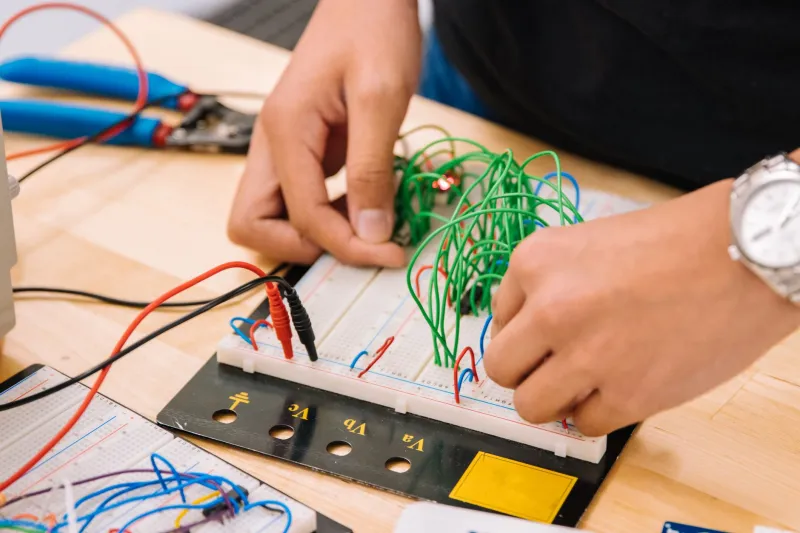
You spent a weekend dialing in your circuit. Voltage readings looked solid. The LEDs blinked exactly like they were supposed to. You packed it up, brought it to the Thursday night open build session at your local makerspace, plugged it into the power strip on the communal bench — and nothing. Or worse: it kind of worked, then reset, then died.
This is one of the most maddening experiences in hobby electronics, and it happens constantly. The build isn't broken. Your code didn't corrupt itself in the car. The problem is almost certainly the power infrastructure between the wall and your breadboard, and that infrastructure changes dramatically when you leave your home bench behind.
Let's talk about why.
Your Home Bench Is a Controlled Environment (Even If It Doesn't Feel Like One)
At home, you probably have one or two projects running off the same wall adapter. Maybe a dedicated USB port on your computer. That adapter feeds your circuit and nothing else. The cable between the adapter and your breadboard is the one you tested with. The voltage on your rails is stable because there's no one else hammering on the same circuit.
Makerspaces don't work that way. A shared bench might have four or five people running power simultaneously off the same outlet strip. That strip might be daisy-chained off another strip. The extension cord feeding the whole table might be a 16-gauge afterthought running fifteen feet to a wall outlet that's already supplying a laser cutter on a shared breaker. Every one of those links in the chain introduces resistance, and resistance under load means voltage drop.
We Tested It — Here's What We Found
We set up an identical test circuit three different ways: a simple 5V microcontroller setup drawing about 300mA at peak load, connected through three different power scenarios.
Scenario A — Clean home bench setup: A decent 5V/2A wall adapter, a short 22-gauge wire run directly to the breadboard power rails. Measured voltage at the rail: 4.93V under load. Rock solid.
Scenario B — Daisy-chained power strips, long cable: Same adapter, but now running through two daisy-chained strips and a six-foot micro-USB cable from a bulk pack. Measured voltage at the rail: 4.71V under load. Already below the 4.75V threshold that starts causing issues with some microcontrollers.
Scenario C — Shared makerspace-style bench: Adapter plugged into a strip with three other loads active (a soldering iron on standby, a monitor, and another microcontroller project), 10-foot cable run. Measured voltage at the rail: dropped to 4.58V under peak load, with transient dips to 4.4V when the soldering iron's heating element cycled on.
That last scenario? That's where builds go to die. A 4.4V transient on a 5V rail isn't just a number — it's a brownout event for anything without solid onboard regulation.
The Three Villains in This Story
1. Cable Gauge and Length
This is the one most people underestimate. A thin, long cable is basically a resistor in series with your project. At 300mA, even a cable with 1 ohm of total resistance — which is very achievable with cheap 28-gauge wire over a few feet — drops 300mV. That doesn't sound like much until you're already at 4.7V and you need to be above 4.75V.
At home, your cable is probably shorter and you've probably tested with it enough that it works. At the makerspace, you grab whatever's on the table.
2. Shared Loads and Inductive Switching
Soldering irons, bench power supplies cycling loads, motors, and even some LED drivers create noise and transient dips on shared AC circuits. Cheap wall adapters have minimal filtering, which means that noise shows up on your DC rail as ripple or sudden voltage drops. Your microcontroller's onboard regulator might handle it — or it might not.
3. Distribution Blocks and Daisy-Chaining
Every connection point adds contact resistance. Daisy-chained power strips are notorious for this. A strip that's been used for a year has oxidized contacts. The outlet it's plugged into might be loose. Stack two or three of these together and you've built a surprisingly effective voltage divider between the wall and your breadboard.
How to Make Your Projects Road-Ready
The good news is that none of this requires expensive fixes. A few cheap components and some planning go a long way.
Add a bulk capacitor to your power rails. A 470µF or 1000µF electrolytic capacitor across your 5V rail acts as a local reservoir. When there's a transient dip, the cap supplies current for a few milliseconds while the adapter catches up. This single change eliminates a huge percentage of mysterious resets. These cost pennies.
Bring your own cable — and know what it is. A short, thick cable (18 or 20 gauge) makes a measurable difference. If you're using USB, a decent USB cable with proper power conductors is worth keeping in your kit bag. Don't rely on whatever's sitting on the communal bench.
Use an LDO or buck converter as a local regulator. If your project can tolerate it, power the sensitive logic through a cheap LDO that accepts 6-9V input and outputs a clean 3.3V or 5V. Now your circuit doesn't care what the wall is doing — it's living off a regulated island. A basic AMS1117-based module costs under a dollar.
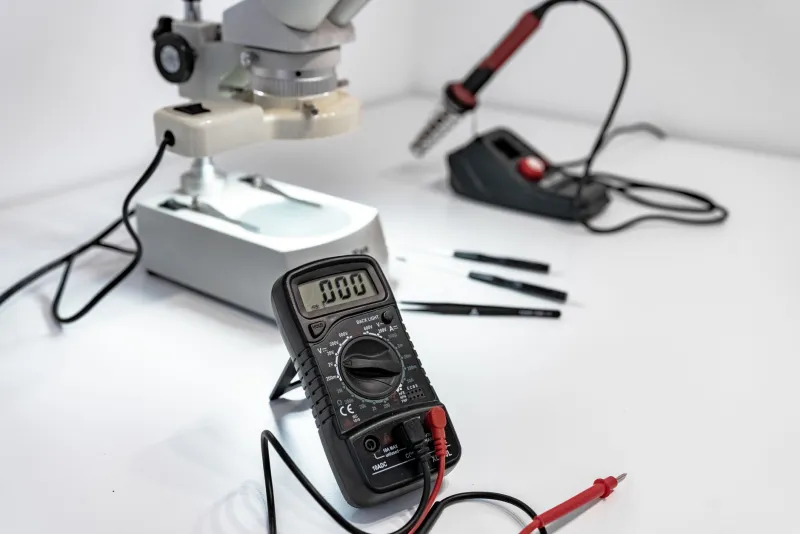
Measure before you build. Clip a multimeter across your breadboard power rails before you even start placing components. If you're seeing anything below 4.8V at no load, something upstream is already struggling. Find it before your circuit does.
Carry your own power source. A compact USB power bank is actually a surprisingly clean power source for 5V projects. It has its own regulation, its own filtering, and it's completely isolated from whatever chaos is happening on the shared AC circuit. For portable demos and workshop nights, this is often the most reliable option in the room.
The Takeaway
Your circuit isn't flaky. Your makerspace isn't cursed. The power infrastructure between the wall and your breadboard is just dramatically worse than what you have at home, and most hobby-grade components have no defense against that.
Once you start thinking about voltage delivery as a chain — wall, outlet, strip, cable, connector, rail — it becomes obvious where the weak links are. Shore those up with a bulk cap, a short cable, and maybe a cheap local regulator, and your builds will survive the trip from your home bench to the communal table without drama.
Power is the part of the project nobody thinks about until it's the only thing that matters.